Even when conditions are perfect for a time lapse shoot, there are a number of things that can go wrong and over the last couple of years, I've managed to find most of them. The notebook I carry with me in my Think Tank camera bag has become a catalog of mistakes, usually made while I was distracted or in a hurry to assemble equipment and make calculations before the scene I'd come to capture changed. Shooting time lapse requires...well...time. These sequences can take hours to shoot and if you arrive on location and conditions aren't right for what you hope to accomplish, you're better off packing up and waiting for another day unless you happen to have the luxury of unlimited time and nothing to fill it with.
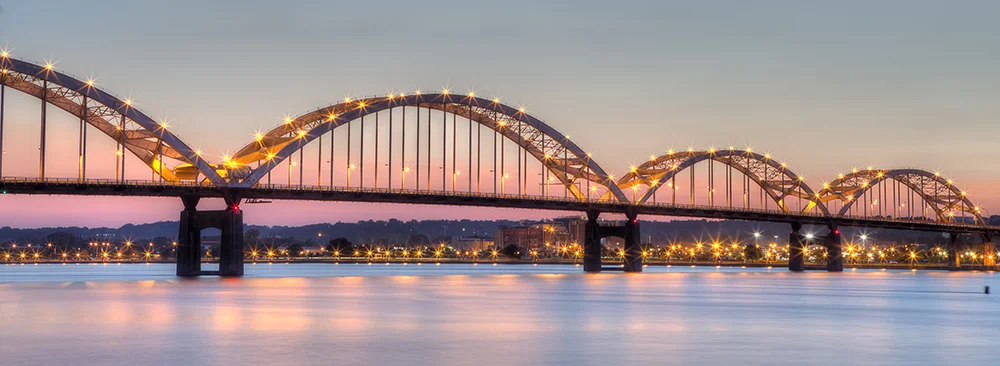
Tuesday night was one of these times. The temperature in St. Louis had soared to a muggy 100 degrees. This led to a problem I was lucky to catch: the glass in my lens, cooled from being in the AC all afternoon, immediately fogged when I removed it from my bag and continued to do so until it finally warmed up. The clouds were minimal (something that doesn't lead to a very compelling sequence and that leaves the bright sun un-difused and nearly impossible to photograph towards) and because I wanted to shoot across the Mississippi River, I needed to be situated in East St. Louis. The bank on the east side of the river is heavily industrialized and not the kind of place I wanted to be by myself after dark with an expensive camera...or without an expensive camera for that matter. This meant shooting from a high deck at Malcolm Martin Memorial Park which gave me a great view of the arch....and a string of distracting power lines right in the middle of my scene.
The final piece that just about sent me packing was learning that the arch would not be lit on Tuesday until much later in the night...I had no intentions of hanging out alone by the river in East St. Louis until midnight. The lighting of the arch was really what I'd hoped to catch. Everything was pointing to a waste of my time and had I not struck up a conversation with another photographer from Kentucky, I probably would have left.
As I expected, the bulk of the sequence is pretty unexciting but there were a few surprises...one of the things I absolutely love about time lapse. As the sun dipped below the horizon, a series of clouds made their appearance, turning the western sky into a swirling yellow-orange caldron for a few minutes before suddenly vanishing. I could also see what is an arguably obvious thing: boats and barges travel faster down-river than up-river against the current. The sequence is comprised of 850 individual images.